
 Finally finished this tutorial yesterday and am on a roll as I've started another one today. These earrings are so fun to make. I saw something similar made by a high end designer and now I can't find them to even show them to you. Oh, well here they are. Enjoy!
Supplies Needed:
- Round Nose Pliers
- Flush Wire Cutters
- Flat Nose or Needle Nose Pliers
- 6” of 20 gauge sterling silver wire
- 2” of spare sterling silver chain
- Various beads
- Ruler
- Hammer (optional)
- Stainless Steel Block (optional)
Instructions:
- Gather all your supplies
- Cut wire into 2 – 3” pieces
- Fold one wire in half equally
- Insert your Round Nose pliers at the center
- Twist the wire 2 times as shown
- Remove your pliers and straighten out your end wires a bit
- Make a second one to match
- Even up the ends and trim if necessary
- Make a small loop with your Round nose pliers at the end of each wire
- Continue with the second wire piece
- Insert your chain on one side of your wire by opening a bit the loop and then closing
- Insert the other end of the chain on the loop of the other side and repeat with your second wire

13. Making a wrapped loop with your center bead
14. Find the center of your chain and insert your half loop
15. Wrap the wire around to finish the wrapped loop
16. Trim excess wire
17. Add your center bead to the other earring component
18. Continue adding beads as desired to the links in the chain
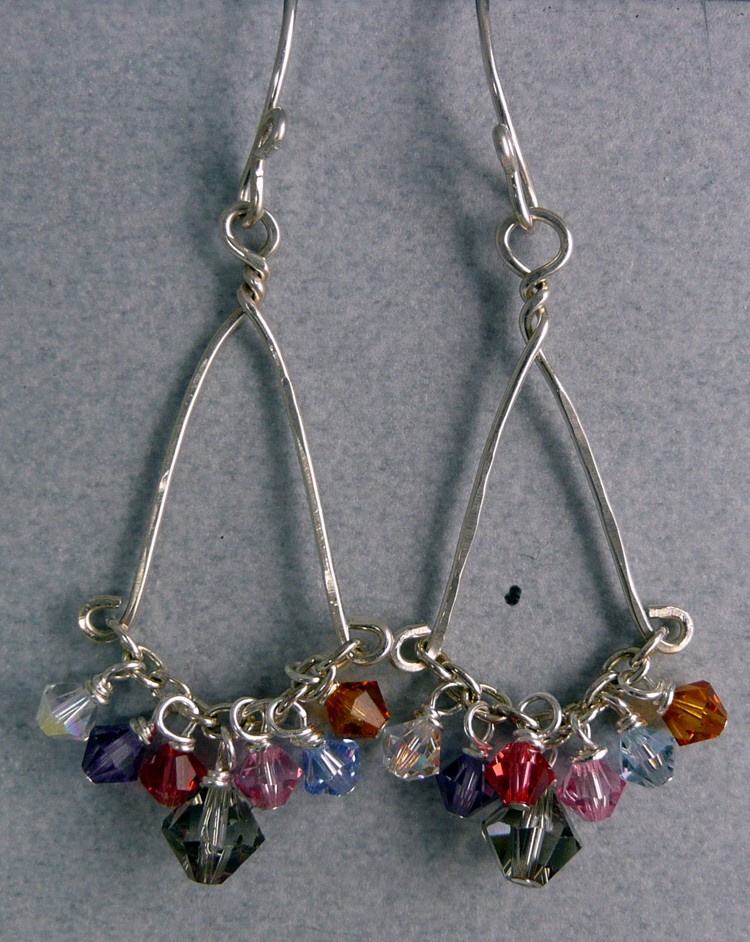
19. Finished earring components
20. Handmade ear wires finish off the earrings
14. Find the center of your chain and insert your half loop
15. Wrap the wire around to finish the wrapped loop
16. Trim excess wire
17. Add your center bead to the other earring component
18. Continue adding beads as desired to the links in the chain
19. Finished earring components
20. Handmade ear wires finish off the earrings
Lovely aren't they. Tutorial on the handmade ear wires will be coming soon.


